No-code UI editor overview
The UI editor is the main feature in Genie Builder, enabling you to build UIs by drag and dropping components onto a canvas without writing any code.
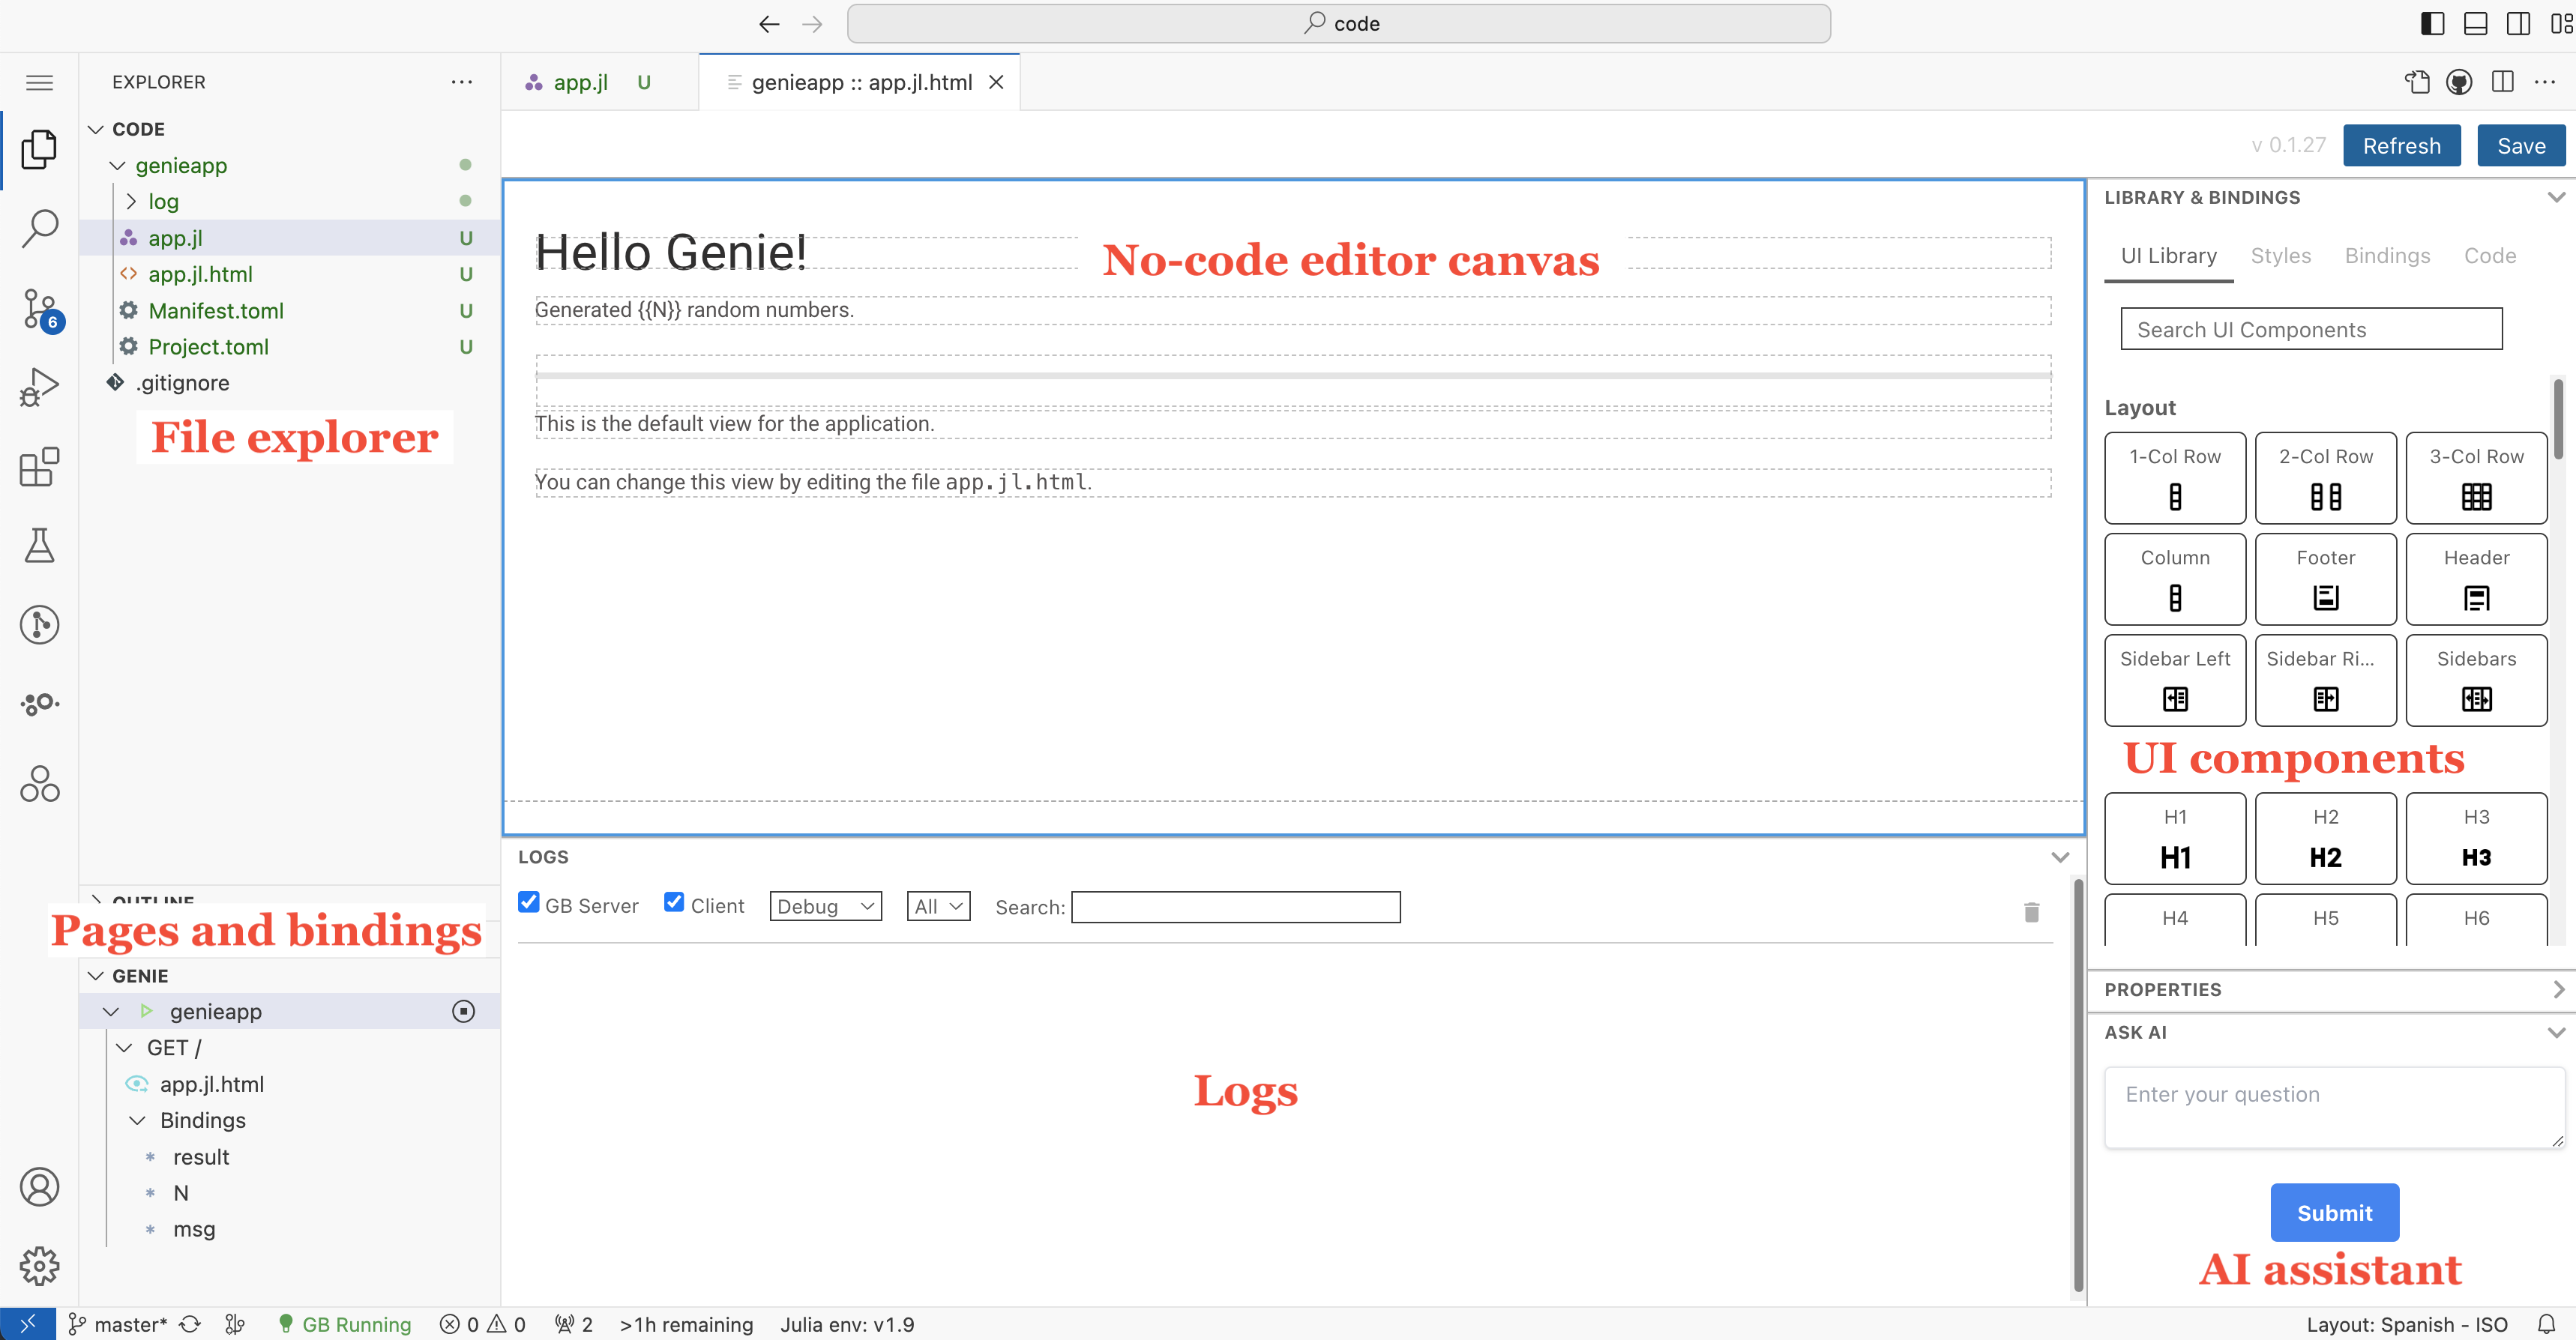
As shown in the picture above, the space in the main view is divided into several parts:
- No-code canvas: where you can drag and drop components to build your app's UI.
- Component library: a list of components you can add to the canvas.
- Pages and bindings: a list of the pages in your app, and the reactive variables that can be bound to UI components.
- AI assistant: an assistant that generates code for your UI, and answers questions using the Genie documentation.
- File explorer: where you can see the files in your workspace, and open new ones to edit.
- Logs: a view of the log messages generated by the app.
Moreover, the right sidebar has several sub menus displaying more information and settings:
- Component properties: the properties of the selected component.
- Styles: the CSS style options of the selected component.
- Bindings: the list of reactive variables, with icons displaying their type.
- Code: the source code of the selected component, which can be edited directly.
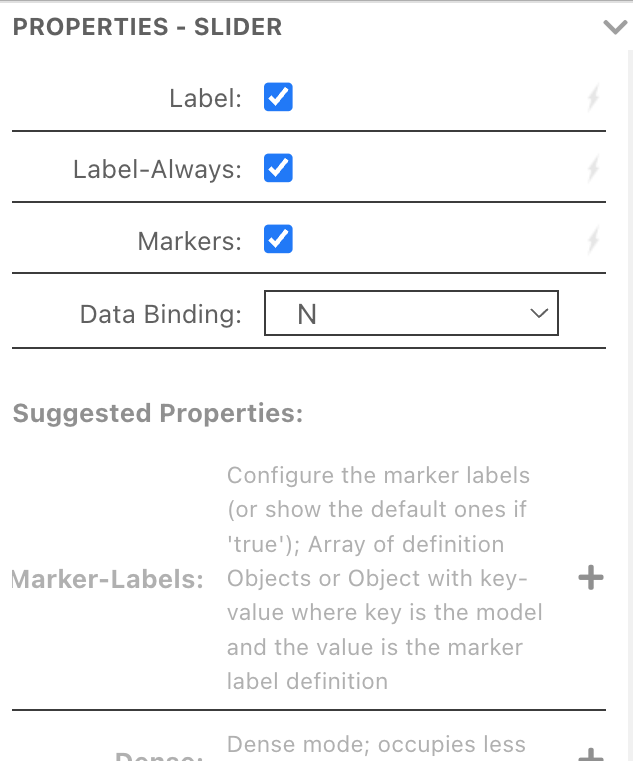
Component properties
The properties panel displays those properties that are required or enabled by default. It also shows suggested properties, and clicking the Add Property button you'll see the full list of available properties.
Each property has a specific type, be it String or Int. You can either set a value in the input field, or bind the property to a reactive variable by clicking on the lightning icon next to the field. The binding selector will only show variables of the appropriate type.
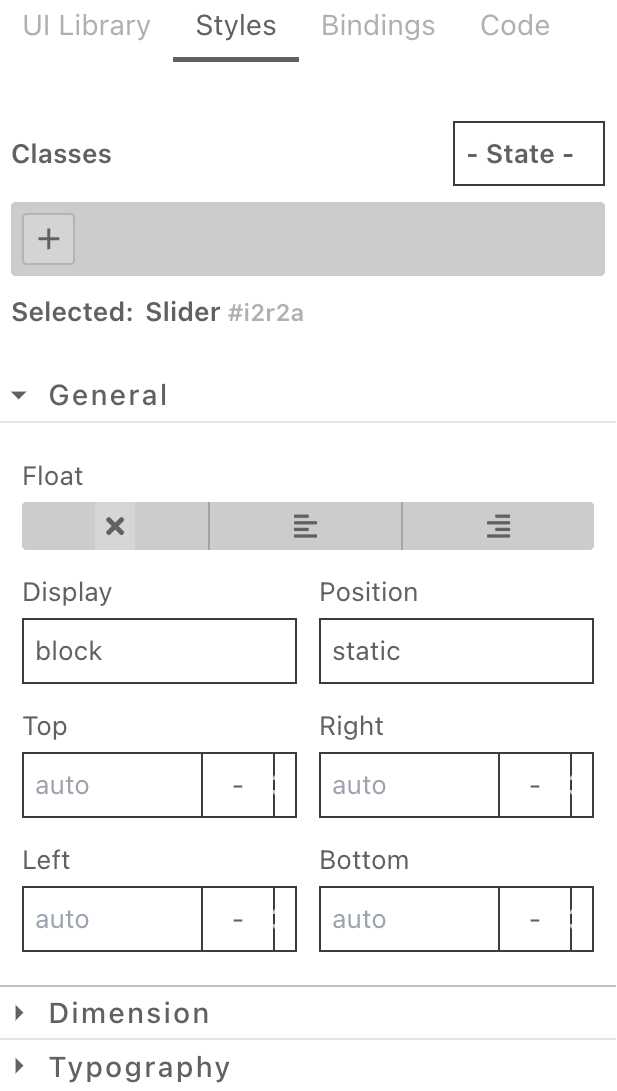
Styles
In the styles panel you can set the CSS properties of the selected component. You can do it by setting property values, or by adding CSS classes. A library of predefined classes is readily available coming from the Quasar UI framework. You can find the full list [here](https://quasar.dev/style/typography)
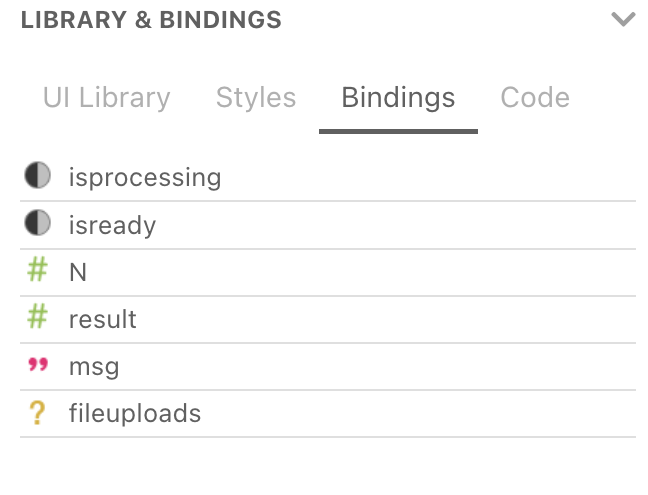
Bindings
A binding is a reactive variable that is defined in the Julia code and can be bound to a UI component to store its state. You can see the list of bindings as you define them in the Bindings subtab of the GENIE panel to the left:

Each UI component will have a data field in its properties that can be bound to a variable. Moreover, a standard input field can also be switched to binding mode by clicking on the lightning icon next to it. Note that the binding list will only show those variables of the appropriate type.
The bindings panel is very useful to see what variables you have exposed to the UI, and their types. Moreover, you can drag a variable from this panel onto the canvas, and you'll be presented with a list of components that can be added to the app and bound to the variable.

Chart editor
Genie Builder includes a comprehensive editor to configure charts from its large supported library. To use it, drag a chart from the list in the Library tabs onto the canvas, and open the properties tab in the right sidebar.
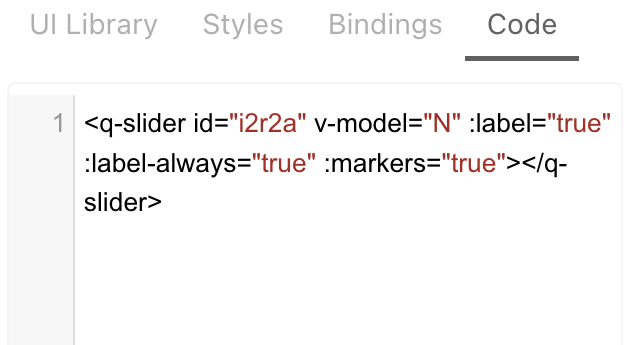
Code editor
Genie Framework supports components from Quasar, a complete component library for Vue.js. Some of these components are not yet fully integrated with Genie Builder, and hence they cannot be configured. In these cases, you can drop the component onto the canvas, and use the Code window to manually edit its properties.
